Table of Contents
Automate Your Google Forms Deadlines and Response Limits
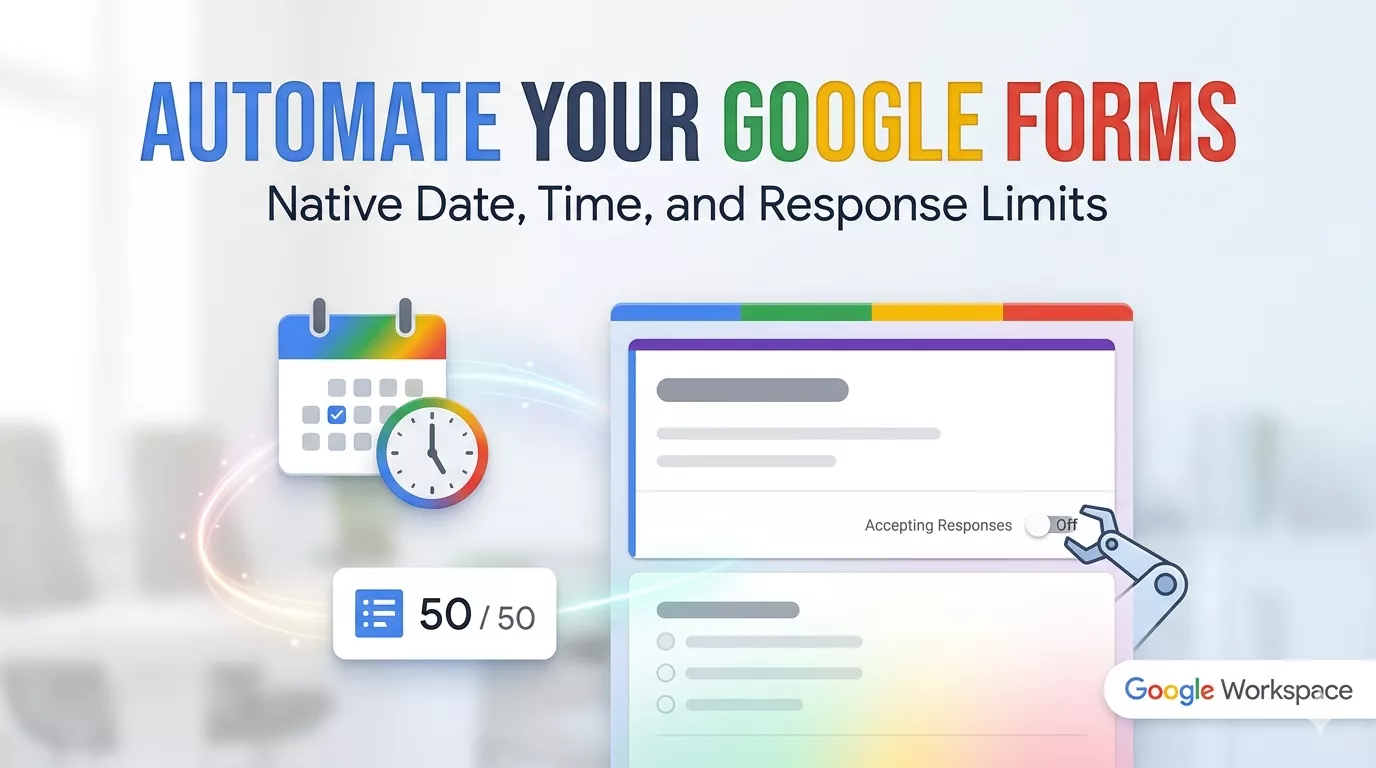
As a business owner or team lead, your time is your most valuable asset. Until recently, managing deadlines in Google Forms required a manual touch—you had to remember to log in at a specific time to toggle the “Accepting responses” switch to “Off.”
If you’ve ever missed a deadline or accidentally collected too many registrations for an event, we have great news. Google has officially launched native automatic response limits for Google Forms.
As your Google Workspace partner, we’ve put together this guide to help you use this new feature to streamline your workflow in 2026.
What’s New in Google Forms?
Google has moved beyond manual controls. You can now set “triggers” that tell your form exactly when to stop working. There are two primary ways to automate your form closure:
Date and Time Limits: Set a hard deadline (e.g., “Close this form on Friday at 5:00 PM”).
Response Count Limits: Set a maximum capacity (e.g., “Close after 50 sign-ups”).
Why This is a Game-Changer
Before this update, users often had to rely on third-party add-ons. While those worked, native integration is faster, more secure, and easier for your team to manage without extra permissions. This is perfect for:
Event Planning: Ensuring you don’t exceed venue capacity.
Job Applications: Setting a firm “cutoff” for candidate submissions.
Quizzes & Assignments: Automating late-work policies for students or trainees.
How to Set It Up (Step-by-Step)
This feature is OFF by default, so you will need to enable it for the specific forms that require limits.
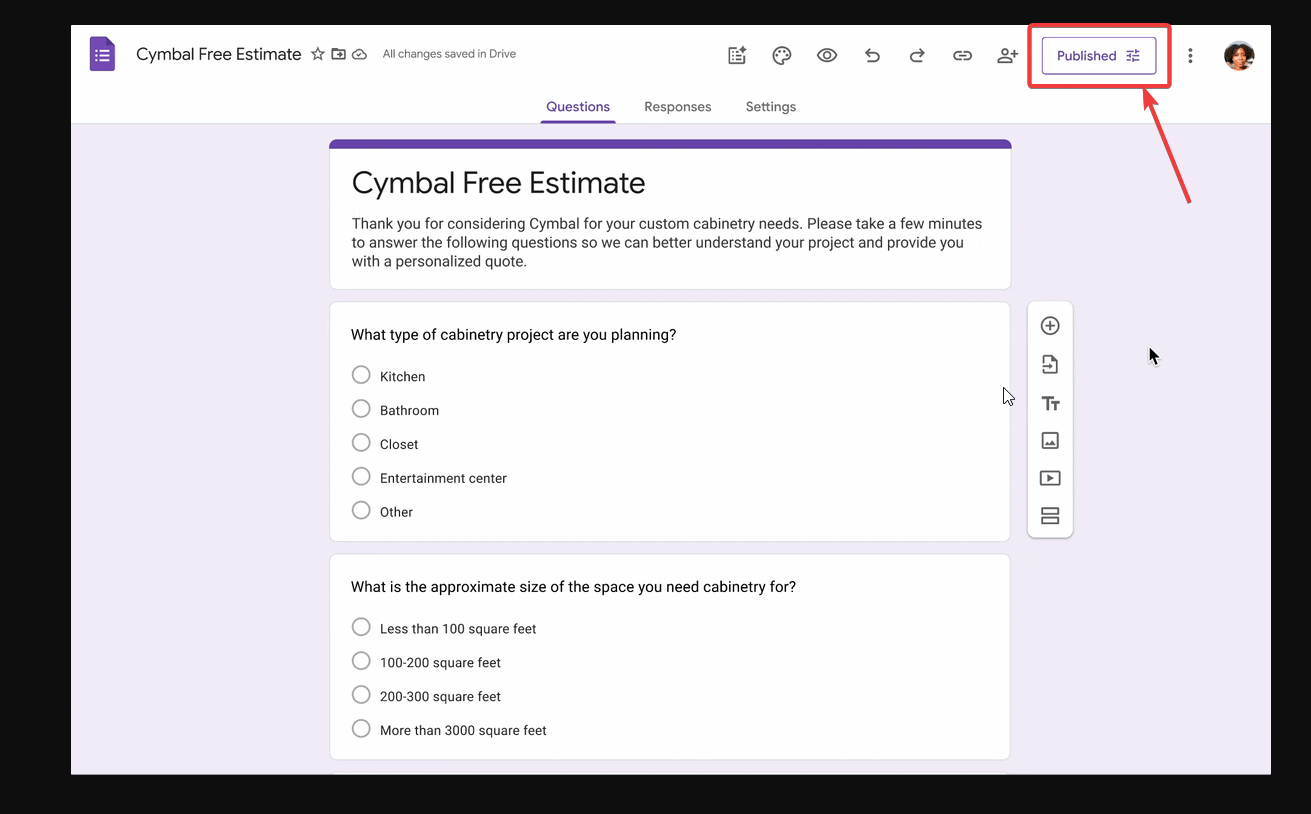
Open your Form: Head to forms.google.com and open the form you want to manage.
Navigate to the Responses Tab: Click on the Responses tab at the top of the editor.
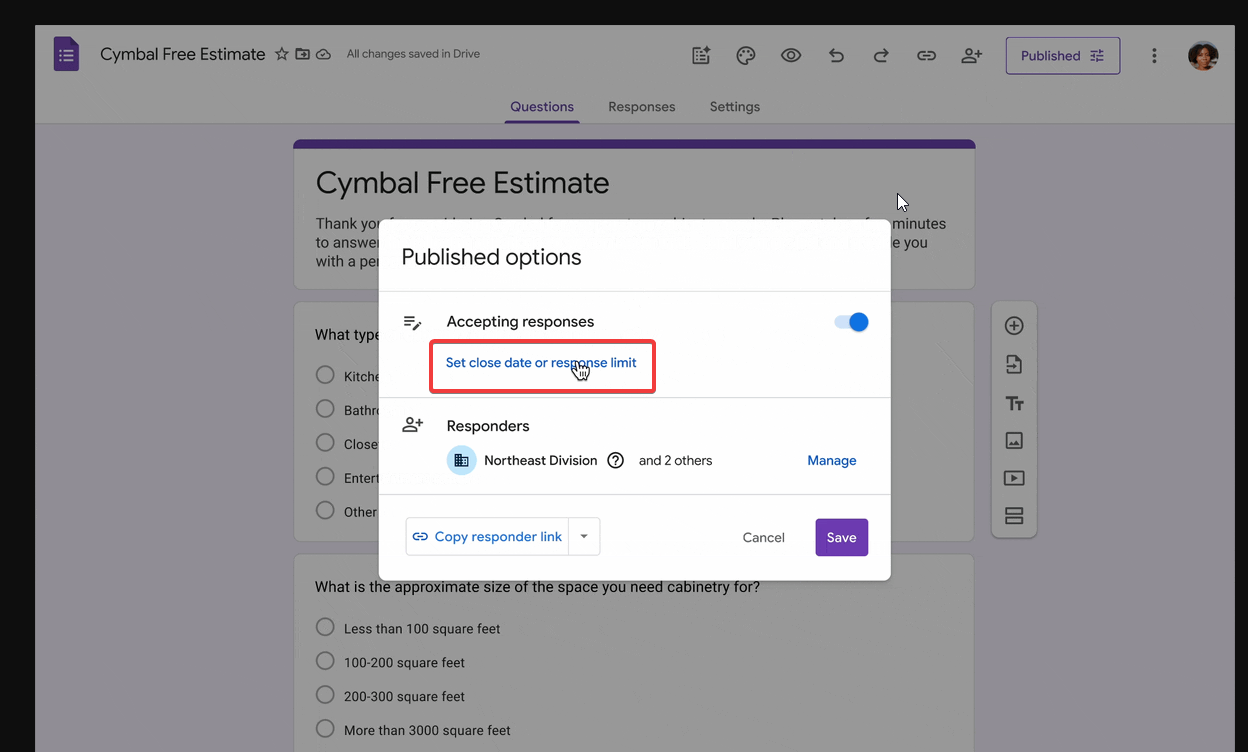
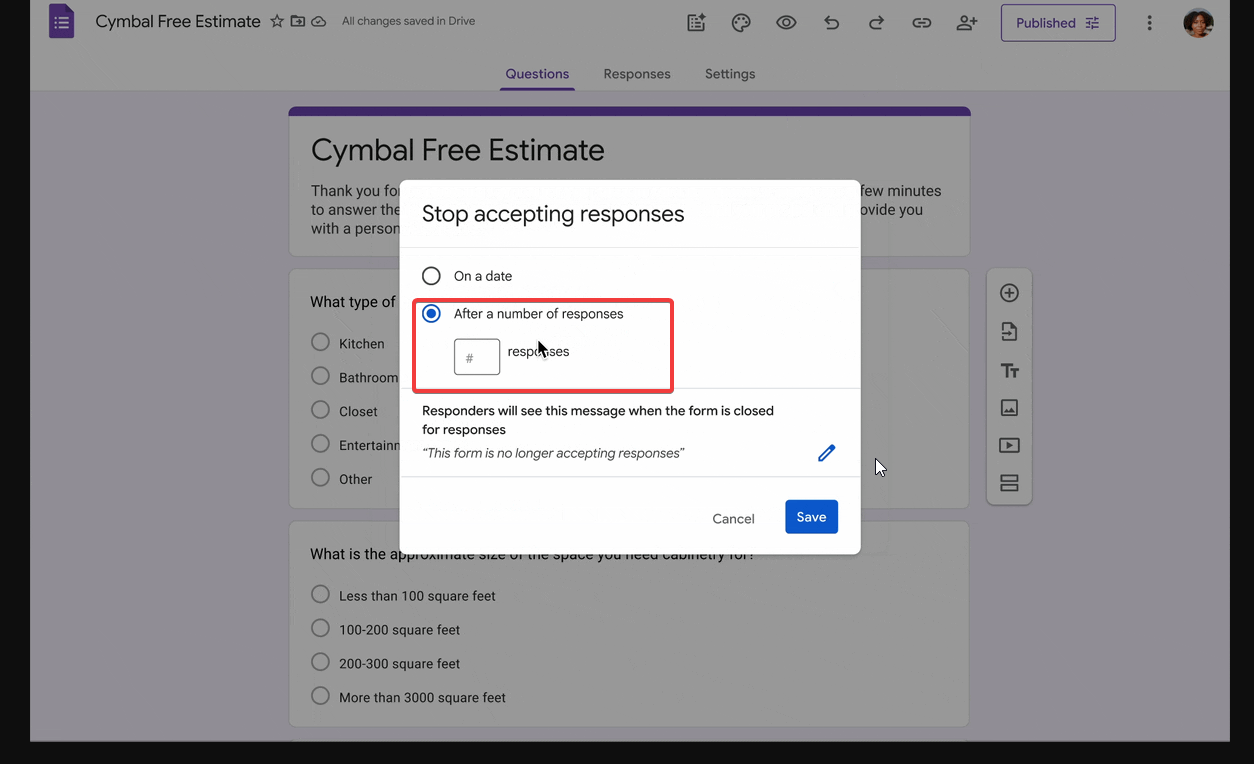
Set the Limit: Look for the link that says “Set close date or response limit” (located near the “Accepting responses” toggle).
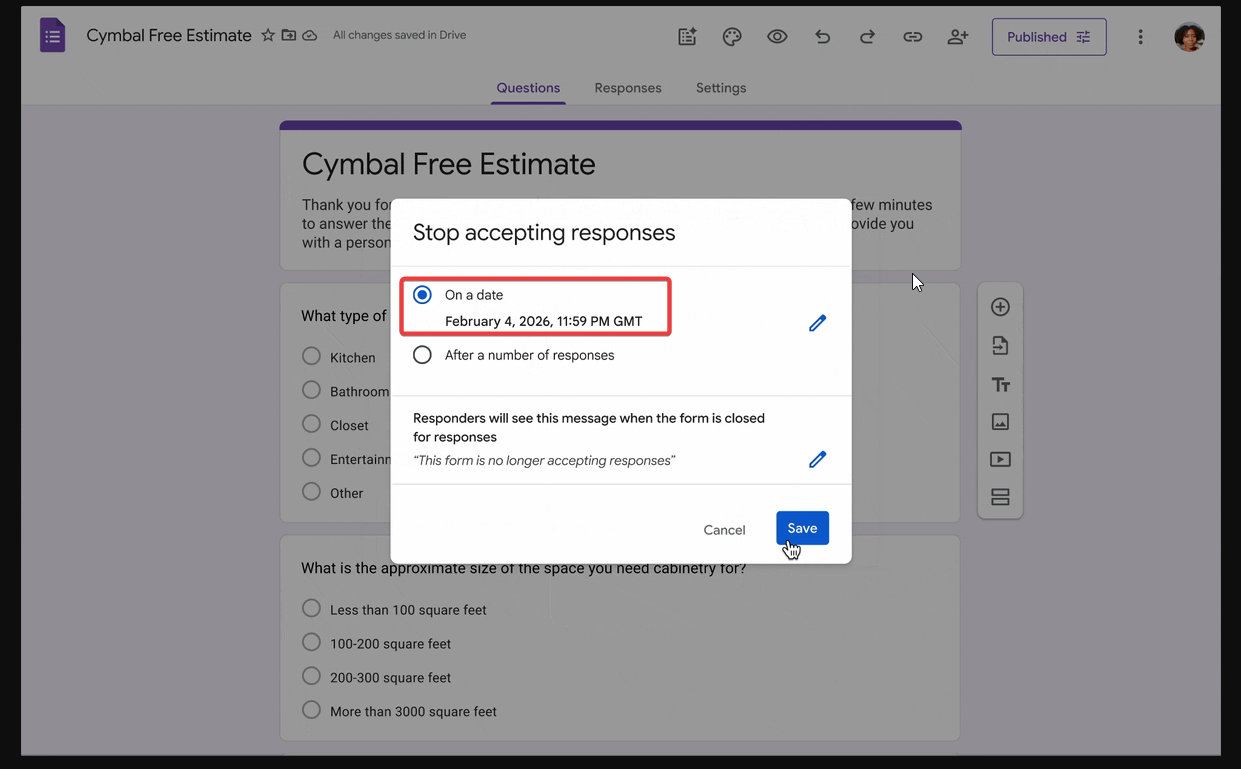
Choose Your Trigger:
On a date: Use the calendar and clock picker to choose your deadline.
After a number of responses: Enter the maximum number of submissions allowed.
Customize the “Closed” Message: Write a short note to let latecomers know why the form is no longer accepting entries.
Save and Enable: Click save, and you’re done!
Blog Creation Date 16 March 2026
Support for eMail
supportmail@deepit.com
+91 99 789 369 78
Support for Web
supportweb@deepit.com
+91 99 789 369 56